Cleaning Plastic Bread Bins and Boxes - Mold Prevention and Odor Removal
📑 Table of Contents
The Persistent Mold Problem
Section titled “The Persistent Mold Problem”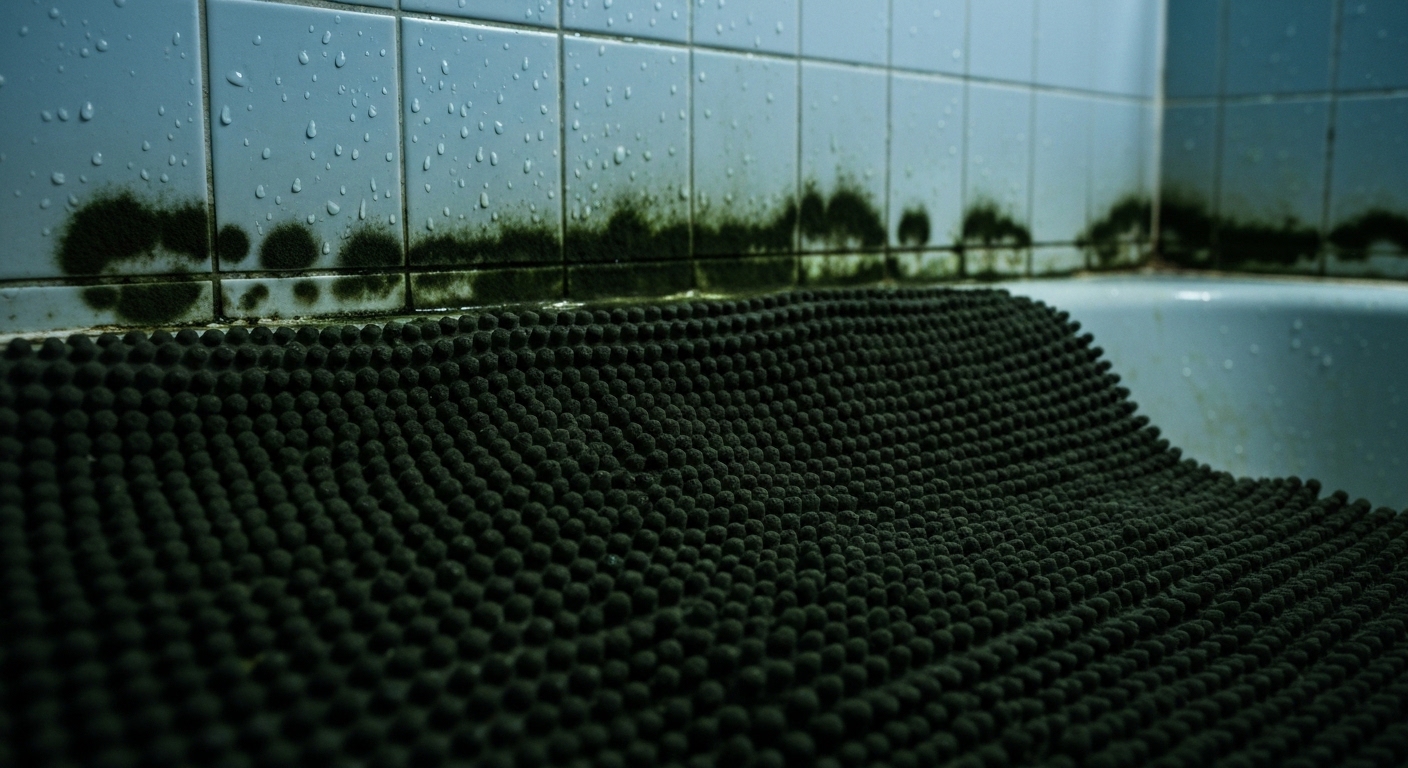
Opening your plastic bread bin to find mold spots despite regular cleaning points to a fundamental challenge with food storage plastics. Mold spores settle into microscopic surface features that everyday wiping does not reach, creating recurring contamination that can spoil each new loaf.
Bread storage is also a humidity juggling act. You want enough humidity to slow staling, but not so much moisture that condensation forms and mold takes off, especially in warm kitchens where the inside of a bread box becomes a comfortable microclimate for fungal growth.
Most plastic bread bins are made from polypropylene, polystyrene, or ABS blends, and each behaves differently with odors, scratches, and heat. Knowing what you are working with helps you choose a cleaning method that actually reduces the mold cycle instead of repeating it.
How to Clean a Plastic Bread Bin with Mold (Quick Steps)
Section titled “How to Clean a Plastic Bread Bin with Mold (Quick Steps)”- Empty the bin, brush out crumbs, then wash with warm dish soap and a soft cloth.
- Sanitize based on the problem (vinegar soak for routine mold, diluted bleach only for severe contamination, dishwasher only if the plastic is dishwasher-safe and you skip high-heat drying).
- Scrub seams, corners, and hinge areas with a soft brush, then rinse thoroughly.
- Dry completely (lid, gasket, and corners), then leave the bin open for 30 to 60 minutes before storing bread.
- Reduce moisture at the source (cool bread fully, avoid sealing warm loaves, and do not store damp tea towels inside).
A Fast Decision Framework (Clean, Deep Clean, or Replace)
Section titled “A Fast Decision Framework (Clean, Deep Clean, or Replace)”If you see a few surface spots and no smell, a wash plus vinegar sanitization is usually enough, and you can also review tips on removing odors from plastic containers to be sure lingering smells don’t return. If mold comes back within a week, you likely have hidden spores in scratches, seams, or the gasket, so use a deeper approach and fix the moisture pattern that is feeding regrowth.
If you find cracks, crazing (fine spiderweb lines), warping that prevents a proper seal, or odor that persists after multiple rounds, replacement is the safer and often greener option because you stop burning time, water, and cleaning products on a container that cannot be reliably restored.
Why Mold Spores Persist in Plastic
Section titled “Why Mold Spores Persist in Plastic”Plastic bread bins look smooth, but injection molding leaves microscopic flow lines, pores, and tiny voids. Those irregularities shield spores from the scrubbing pressure your sponge can apply.
Mold spores are small (often a few micrometers across), and they lodge in scratches from normal use, including sliding loaves and cleaning with rough pads. Once established, mold and bacteria can also form biofilms, a slim protective matrix that makes disinfectants less effective.
Many plastics are hydrophobic, so water-based cleaners bead rather than fully wet the surface. Less wetting means less contact time between the sanitizer and the micro-texture where spores are hiding.
What this means: if mold keeps returning, you have to pair chemistry (a sanitizer with enough contact time) with mechanics (a brush that reaches seams) and moisture control (fully drying and venting).
Vinegar vs Bleach vs Dishwasher: Which Cleaning Method Actually Works
Section titled “Vinegar vs Bleach vs Dishwasher: Which Cleaning Method Actually Works”Vinegar, bleach, and dishwashers solve different problems, and they also create different risks for plastic, seals, and odors. For bread bins, the best method depends on whether you are dealing with light surface mold, deep recurring growth, or heat-driven odor absorption.
Best Cleaning Method for Each Problem
Section titled “Best Cleaning Method for Each Problem”| Problem in a plastic bread bin | Most effective first choice | When to use a backup | Key cautions |
|---|---|---|---|
| Light surface mold spots | Vinegar soak (1:1 with water), then scrub | Repeat soak, longer contact time | Avoid long soaks on metal hinges, rinse well |
| Mold returns quickly after cleaning | Vinegar plus aggressive seam brushing, then fix drying and storage habits | Diluted bleach for severe, persistent contamination | Bleach can discolor and degrade some plastics and seals |
| Strong stale bread odor | Baking soda paste or activated charcoal, then air and sunlight | Replace if odor persists after multiple cycles | Dishwasher heat often bakes odors into plastic |
| Cloudy lid from mineral deposits | Vinegar rinse and gentle wipe | Plastic polish for scratches | Abrasives cause permanent haze |
| Bin is greasy or has sticky residue | Hand wash with dish soap, warm water | Dishwasher wash only (no heated dry) | Heat can warp lids and weaken gaskets |
The Vinegar Sanitization Method
Section titled “The Vinegar Sanitization Method”White vinegar is a practical, low-tox sanitizing option for routine bread-bin mold, and it is usually gentle on food-contact plastics. Household vinegar is about 5% acetic acid, which disrupts microbial membranes and proteins, and it performs best when it has enough contact time on the surface.
Start by removing every crumb because debris can physically shield mold from the solution. Wash with warm dish soap first, then fill the bin with a 1:1 solution of white vinegar and water, making sure the lid and any removable parts are wetted too.
Let the solution sit for at least 30 minutes, and longer (up to a few hours) if you are dealing with recurring spots. After soaking, scrub seams, corners, and hinge channels with a soft brush, then rinse thoroughly and dry completely.
When not to use vinegar (or when to modify the method)
Section titled “When not to use vinegar (or when to modify the method)”Vinegar and metal do not always play nicely over long contact times. If your bread bin has exposed metal hinges, screws, or springs, avoid extended soaking that keeps metal submerged because acids can encourage corrosion, and rust becomes its own contamination trap.
Be cautious with silicone and rubber seals too. A quick wipe is fine, but repeated long vinegar soaks can dry out or swell some elastomers over time, especially cheaper rubber blends, which can shorten gasket life.
Vinegar also is not a “one and done” solution for every mold scenario. If you have thick biofilm, heavy visible growth, or mold returning within days despite good drying habits, vinegar may need to be paired with better mechanical scrubbing, longer contact time, or a different sanitizer.
Why bleach is not ideal for most plastics
Section titled “Why bleach is not ideal for most plastics”Diluted bleach (sodium hypochlorite) is a strong disinfectant, but it is harsher on many plastics and can accelerate discoloration, surface oxidation, and gasket degradation. It can also leave a lingering chemical odor if you do not rinse extremely well, and that odor can transfer to bread.
If you choose bleach for a severe case, use it only after washing, follow the label for food-contact dilution, keep contact time short, and rinse until you cannot smell it. Never mix bleach with vinegar or other acids because that can create chlorine gas.
Dishwasher Cleaning: Helpful or Harmful for Bread Bins?
Section titled “Dishwasher Cleaning: Helpful or Harmful for Bread Bins?”A dishwasher can remove grease well, but for bread bins it is often a mixed bag. The high heat of wash water and, especially, heated drying can warp lids, change how gaskets compress, and increase microscopic stress cracking over time.
Heat is also a big reason dishwashers can worsen odor problems. Warm plastic can absorb volatile compounds more readily, and repeated heat cycles can drive stale bread odors deeper into the polymer surface layer, which makes the smell harder to remove later.
If your bread bin is clearly marked dishwasher-safe and you use the dishwasher, skip heated dry, use the top rack, and remove it promptly to air dry fully with the lid open. If the bin has a gasket, wash the gasket by hand and let it dry flat.
Removing Bread Odor from Plastic
Section titled “Removing Bread Odor from Plastic”Stale, yeasty odor in a bread bin is usually caused by volatile organic compounds from aging bread that have absorbed into the plastic surface layer and then slowly re-release. The fix is less about “killing germs” and more about pulling those volatiles back out or breaking them down.
Baking soda is a reliable first step. Make a paste with water, coat the interior, let it dry, then brush or rinse away, repeating as needed.
Sunlight can help, because UV light breaks down some odor-causing organic molecules. Place the clean, dry bread bin in direct sunlight for a few hours, rotating if possible so the interior gets exposure, and avoid extended sun if the plastic is already prone to yellowing.
Activated charcoal also works well for bread-bin odors because it adsorbs volatiles without adding fragrance. Put a small open dish of charcoal inside the closed bin overnight, then air it out.
Coffee grounds can absorb odor too, but they may leave a coffee note behind. That can be a pleasant trade-off for some households, but I would not use grounds if you want a neutral smell.
Why Clear Lids Go Cloudy
Section titled “Why Clear Lids Go Cloudy”Clear plastic lids turn cloudy mostly due to micro-scratches and chemical etching, both of which scatter light. It can look like a film, but it is often permanent surface damage.
Hard water minerals can also leave deposits that mimic haze. A quick vinegar rinse followed by a thorough fresh-water rinse helps if the problem is mineral buildup rather than scratches.
Avoid abrasive powders and rough scrub pads, because they create more haze. If the lid is scratched, a mild plastic polish can improve clarity, but crazing and chemical etching usually cannot be reversed.
Identifying Cracks That Hide Crumbs
Section titled “Identifying Cracks That Hide Crumbs”Cracks are not just cosmetic on food storage plastics. They trap crumbs and moisture, protect spores from cleaners, and can keep seeding mold back into the bin.
Check corners, seams, hinges, and latch points under good light, and flex the bin gently to reveal hairline stress cracks. If your fingernail catches, that defect will also catch food particles.
If you find cracking you cannot fully clean and dry, replacement is the practical move. Avoid trying to glue cracks in food-contact storage because durability and food-contact safety are hard to guarantee.
Choosing a Bread Bin Plastic: PP vs PS vs ABS
Section titled “Choosing a Bread Bin Plastic: PP vs PS vs ABS”If you are buying a replacement bread bin, the plastic choice can reduce both odor carryover and mold-friendly wear over time. The goal is a material that resists scratching (fewer spore hiding places), tolerates gentle cleaning, and does not hold onto odors as readily.
Polypropylene (PP) is usually the best all-around pick for bread bins because it is tough, has good chemical resistance, and tends to handle repeated hand washing without becoming brittle quickly. It can still scratch, but it is generally forgiving with mild cleaners.
Polystyrene (PS) is often stiffer and can look nice and clear, but it is more prone to stress cracking and can be less tolerant of certain cleaners and heat cycles, especially if it is thin. If you choose PS, treat it gently and avoid dishwasher heat and harsh chemicals.
ABS is impact-resistant and often used in sturdier kitchen goods, and it can hold up well structurally. It can scratch and can be sensitive to strong solvents, so stick with mild dish soap, soft cloths, and avoid aggressive chemical exposure.
For any material, prioritize a design with fewer seams, removable gaskets, and good ventilation control (a small vent slider or a lid that seals without trapping condensation). Bread freshness is about humidity balance, not maximum airtightness all the time.
The Airtight Seal Maintenance
Section titled “The Airtight Seal Maintenance”A working seal keeps bread from drying out too fast, but a seal that traps moisture can also increase mold risk if you store bread warm or damp. Your aim is a consistent, clean seal that closes properly, plus habits that keep condensation from forming.
Silicone gaskets typically tolerate temperature swings and cleaning better than many rubber gaskets, and they are less likely to crack as they age. Rubber gaskets can harden or take a “compression set” (they stay squashed), which reduces sealing pressure and creates gaps that let humidity fluctuate.
To test the seal, close the lid on a strip of paper and gently pull. If it slides out easily in multiple spots, you likely have poor compression, a dirty gasket track, or a warped lid.
Clean the gasket and the groove it sits in because crumbs and oils prevent full contact. If you lubricate, use only a tiny amount of food-grade silicone lubricant or mineral oil, and wipe off the excess so it does not attract dust.
Expect gasket lifespan to be a few years with regular use, shorter if it sees dishwasher heat. If the gasket is sticky, cracked, permanently flattened, or smells musty even after washing, replacing the gasket (if available) is usually more effective than trying to “revive” it.
Common Mistakes That Make Mold Come Back
Section titled “Common Mistakes That Make Mold Come Back”These habits undo even the best cleaning because they keep reintroducing moisture, spores, or new hiding places. Fixing them usually reduces mold recurrence more than switching cleaners.
- Putting bread away warm, which creates condensation inside the bin.
- Closing the lid while the bin is still damp after washing.
- Using abrasive pads that add scratches where spores lodge.
- Running heated-dry dishwasher cycles that warp lids and weaken gasket compression.
- Ignoring the gasket groove and hinge channels, where crumbs and biofilm build up.
- Storing the bin near heat sources or in direct sun, which accelerates plastic aging and warping.
Long-Term Maintenance Schedule (Bread-Bin Specific)
Section titled “Long-Term Maintenance Schedule (Bread-Bin Specific)”A small routine prevents the humidity and crumb buildup that feeds the bread-bin mold cycle. It also cuts down on the need for harsher disinfectants.
Monthly, empty the bin fully, wash with dish soap, clean the gasket groove with a soft brush, and let everything air dry with the lid open. Do a quick paper-strip seal test, and wipe away any visible condensation patterns or sticky residue.
Quarterly, do a vinegar sanitization soak (shorter if you have metal hardware), then dry completely and leave the bin open for an hour to off-gas. Inspect for warping, stress cracks, and gasket compression set, and replace worn seals if the manufacturer offers them.
When to Replace Rather Than Clean
Section titled “When to Replace Rather Than Clean”Replacement makes sense when the plastic has defects that keep harboring contamination. Deep cracks, severe crazing, warping that prevents sealing, or mold that reappears quickly after proper cleaning and drying are the big signs.
Odor is another replacement trigger when you have tried multiple cycles of baking soda, sunlight, and charcoal with little improvement. At that point, the odor compounds are likely absorbed deeper than practical home methods can remove.
If you are concerned about ongoing hygiene, consider food safety guidance on aging plastics and wear, especially for containers used daily. Continued use of compromised containers creates ongoing food safety concerns.
Summary Table: Bread Container Maintenance (Complete)
Section titled “Summary Table: Bread Container Maintenance (Complete)”| Issue | What you see or smell | Treatment | Prevention |
|---|---|---|---|
| Surface mold | Small spots, usually near corners or gasket | Wash, then vinegar soak and scrub seams | Cool bread fully, dry bin fully, vent periodically |
| Mold recurrence | Mold returns within days to a week | Deep clean seams and gasket track, extend contact time, correct moisture habits | Avoid sealing while damp, reduce scratches, keep bin away from heat |
| Stale bread odor | Yeasty or sour stale smell after washing | Baking soda paste, charcoal, sunlight | Air out weekly, avoid dishwasher heat, do not store warm bread |
| Cloudy lid | Haze, dullness, poor clarity | Remove minerals, polish only for light scratches | Soft cloth only, no abrasives, dry after washing |
| Cracked plastic | Hairline lines, crumb traps, rough edges | Replace container | Avoid thermal shock, avoid harsh chemicals, handle gently |
| Seal failure | Bread stales fast or moisture swings | Clean gasket and groove, lubricate lightly, replace gasket | Hand wash gasket, skip heated dry, periodic seal test |
| Warped plastic | Lid does not sit flat, gaps | Replace if seal cannot be restored | Avoid dishwasher heat, stovetop storage, direct sun |
References
Section titled “References”-
United States Department of Agriculture. “Food Safety and Inspection Service: Safe Food Handling.” Federal food safety guidance.
-
International Journal of Environmental Research and Public Health. “Antimicrobial Activity of Household Disinfectants.” Research on vinegar effectiveness.
-
Society of Plastics Engineers. “Cleaning and Maintenance of Plastic Food Containers.” Industry guidance on plastic care.
-
Centers for Disease Control and Prevention. “Mold: Basic Facts.” Information on mold biology and control.
-
Food and Drug Administration. “Are Plastic Containers Safe for Our Food?” Agency guidance on food-contact plastics.