Cleaning Plastic Soap Dishes - Soap Scum Layers and Suction Cup Maintenance
📑 Table of Contents
The Soap Scum Layer Problem
Section titled “The Soap Scum Layer Problem”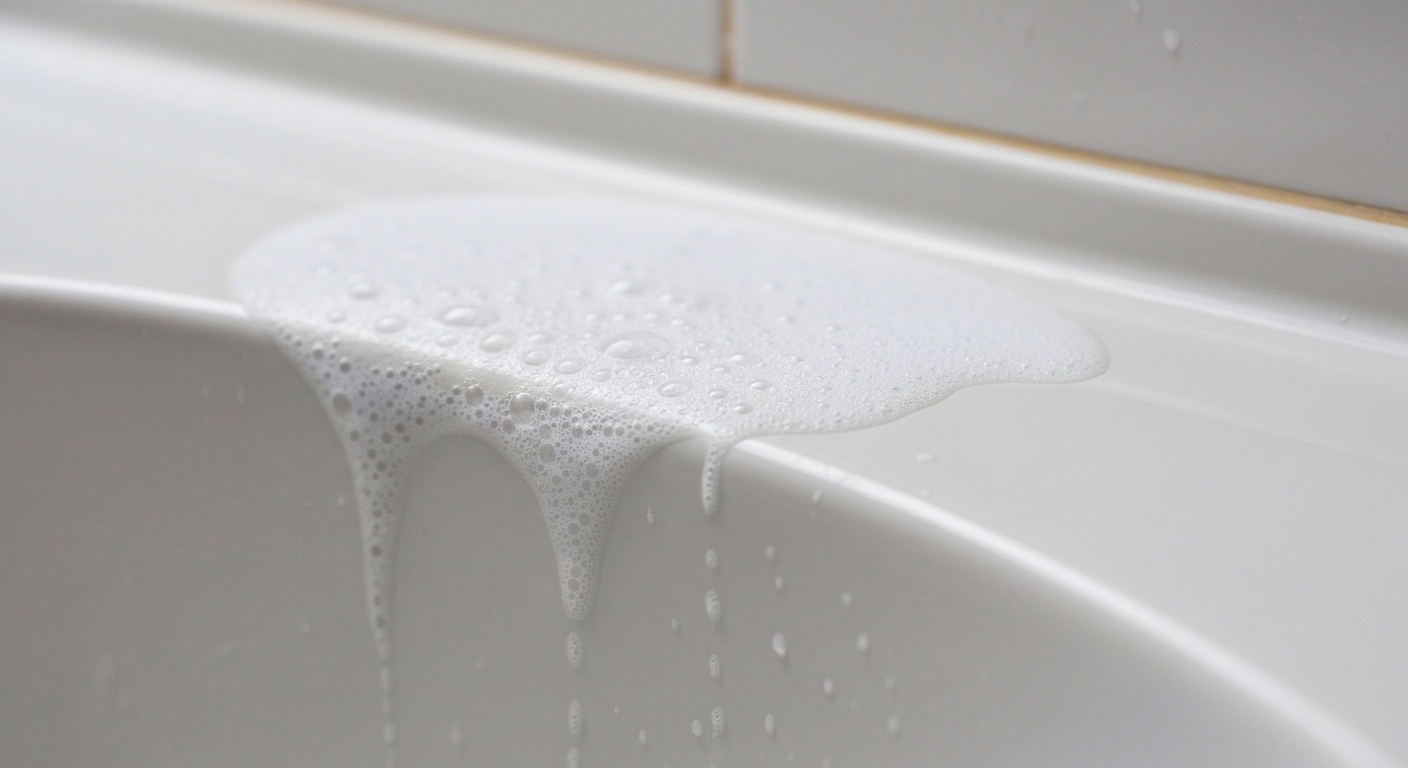
A soap dish that looks grimy five days after you cleaned it is frustrating, but it is also fixable. This guide focuses on small bathroom accessories, especially plastic soap dishes, with practical steps to remove soap scum layers, troubleshoot suction cup failures, and decide when repair or replacement is the smarter move. If you are battling bigger surfaces (like a shower caddy, curtain rings, or a drain board), use the same chemistry principles here—our guide on cleaning plastic shower curtain rings and removing soap scum shows how they apply at a larger scale—but expect different scrubbing tools and longer dwell times.
How to Clean a Plastic Soap Dish (Quick Steps)
Section titled “How to Clean a Plastic Soap Dish (Quick Steps)”- Remove the soap, rinse off loose residue, then soak the dish in warm water with a few drops of dish soap for 5 minutes.
- Apply a 1:1 white vinegar and water mix, let it sit 20 to 30 minutes, then scrub with a soft brush.
- For stubborn film, add a small sprinkle of baking soda to your brush and scrub lightly, then rinse.
- If there is pink slime or visible mold, use a brief bleach disinfecting rinse (1 tablespoon per quart of water), then rinse very well.
- Clean and dry the underside, feet, and any drainage channels, then dry the dish completely before putting the soap back.
- If the dish uses suction cups, clean the cup and the mounting surface, then reattach to a smooth, non-porous area.
Why do plastic soap dishes get soap scum?
Section titled “Why do plastic soap dishes get soap scum?”Soap scum forms when bar soap residue mixes with hard water minerals (calcium and magnesium), then dries onto the dish as water evaporates. Over time, body oils, skin cells, and bathroom humidity get trapped in that layer, which is why old buildup can smell musty or grow pink or black discoloration.
Why Soap Scum Layers Build
Section titled “Why Soap Scum Layers Build”The residue accumulation in soap dishes results from the chemistry of soap, water, and evaporation.
Soap itself leaves residue. As bar soap sits in a dish, dissolved soap drains and evaporates, leaving deposits. The soap’s fatty acid salts accumulate as solid residue.
Hard water mineral reaction creates soap scum. Calcium and magnesium ions in hard water react with soap fatty acids to form insoluble stearates. These compounds do not dissolve in water and accumulate wherever soap meets hard water.
Evaporation concentrates deposits. Water in the dish evaporates between uses, concentrating whatever minerals and soap residue it contains. The deposits accumulate, layer upon layer.
Organic contamination embeds in the buildup. Skin cells, body oils, and bacteria incorporate into the soap scum matrix, creating a microbiologically active environment that complicates tasks like removing soap scum and mineral buildup from plastic bathroom accessories.
Mold finds favorable conditions. The organic-rich, moist environment provides nutrients and water for mold growth. Pink discoloration often indicates Serratia marcescens colonization.
Dish design affects accumulation severity. Dishes with drainage features accumulate less because standing water does not evaporate in place. Solid-bottomed dishes trap water and experience worse buildup.
What this means: Soap dish scum involves soap residue, mineral deposits, and biological contamination. Effective cleaning must address all three components.
Best Cleaners for Plastic Soap Dishes (Compared)
Section titled “Best Cleaners for Plastic Soap Dishes (Compared)”Different cleaners solve different parts of the problem, and plastic adds one more constraint: you want effectiveness without roughing up the surface or stressing the polymer. A cleaner that etches or scratches plastic creates more “grab” for future buildup, so gentle methods usually keep a dish cleaner longer.
Vinegar and mild dish soap handle most soap dish messes with the least risk and the least waste. Baking soda is a helpful booster for oily film, but it is still an abrasive, so use it as a light scrub, not a scouring treatment. Bleach is for disinfection after you remove the scum layer, not as your main cleaner.
Commercial bathroom cleaners can work fast, but they vary widely, and some contain solvents or acids that are not friendly to certain plastics. If you use one, check that it is safe for plastic, avoid long soaks, and rinse thoroughly.
The Vinegar Reset Method
Section titled “The Vinegar Reset Method”Thorough cleaning restores soap dishes to original condition, removing layers of accumulated contamination.
Remove the soap bar and discard any free-floating residue. Rinse the dish under running water to remove loose material before intensive treatment.
Soak in a white vinegar solution for 30 to 60 minutes. For most routine buildup, use a 1:1 mix of vinegar and warm water, which is strong enough to dissolve mineral deposits while being gentler on finishes. For heavily contaminated dishes, you can use undiluted vinegar, but keep the soak shorter and watch the plastic.
The active ingredient is acetic acid, which helps dissolve hard-water minerals and loosens the soap scum matrix at the same time (see acetic acid). Most common soap dishes made from polypropylene (PP) or polyethylene (PE) tolerate vinegar well, but some acetate-based plastics and certain decorative coatings can dull or haze if left in acid too long. If your dish is clear, glossy, or has a printed design, start diluted, check progress at 15 minutes, then continue only if the surface looks unchanged.
Scrub with a brush during and after soaking. The mechanical action removes material that chemical treatment has loosened, and a toothbrush reaches into textured surfaces and drainage channels.
Address drainage channels specifically. Buildup often concentrates in the drain features meant to prevent accumulation, so use a pipe cleaner or similar tool to clean narrow channels.
Rinse thoroughly to remove vinegar and dissolved contamination. Any residue can leave odor or interfere with soap performance.
If you dislike vinegar odor, you still have options. You can use a warm dish-soap soak followed by a baking-soda paste spot treatment, or choose a fragrance-free citric-acid based bathroom descaler that is labeled safe for plastic.
Disinfect with dilute bleach only if biological contamination was present. Use one tablespoon bleach per quart of water, apply for a short contact time (about 1 minute is usually plenty for a small item), then rinse very thoroughly and dry.
Dry completely before returning soap to the dish. Starting with a clean, dry dish extends the time before significant buildup recurs.
What this means: A vinegar soak plus gentle scrubbing removes soap scum layers effectively, and a short disinfecting step is optional when you see pink slime, mold, or persistent odor.
Why Suction Cups Fail
Section titled “Why Suction Cups Fail”Soap dishes mounted by suction cups frequently fall, scattering soap and sometimes breaking the dish. Understanding failure causes enables restoration and prevention.
Contamination between the cup and surface prevents adhesion. Soap residue, mineral deposits, and body oils create an uneven interface that admits air and destroys suction.
Surface texture affects suction grip. Suction cups require smooth, non-porous surfaces, so textured tiles, grout lines, and porous stone never provide consistent adhesion.
Silicone degradation reduces flexibility. The suction cup material must flex to create the initial seal and maintain it by accommodating minor movements, and aged, stiffened cups lose this flexibility (see silicone).
Temperature cycling fatigues the seal. Hot showers followed by cooling create expansion and contraction that gradually loosens suction grip.
Weight and leverage stress the seal. Heavy dishes, oversized soap bars, or a mount position that makes the dish act like a lever magnify the forces on suction cups.
Air leakage through the cup material can occur. Aged or damaged cups may have microscopic holes that admit air despite appearing intact.
Quick suction failure diagnostic
Section titled “Quick suction failure diagnostic”If your dish keeps falling, try to identify the main cause before you buy replacements or switch mounting styles. Check the surface first (smooth and non-porous, not on grout), then check cleanliness (no film on either side), then check cup age (stiff, cloudy, or cracked), then check load (heavy soap or items added to the dish), and finally check the environment (very hot showers, frequent direct spray, or constant condensation).
What this means: Suction failure usually has one primary cause, and fixing that specific cause is what restores reliable hold.
Restoring Suction Cup Adhesion
Section titled “Restoring Suction Cup Adhesion”Properly prepared suction cups on appropriate surfaces can provide reliable mounting.
Clean the suction cup thoroughly. Remove all soap residue, mineral deposits, and contamination from the cup interior and rim, using vinegar or dish soap and scrubbing with a soft brush.
Clean the mounting surface thoroughly. The tile or shower surface must be free of soap scum and oils, so wipe with vinegar or glass cleaner, then dry completely.
Moisten the cup slightly before applying. A thin film of water on the rim fills microscopic surface irregularities and improves the initial seal.
Press firmly to expel all air. Apply pressure across the entire cup to force out trapped air and hold it briefly while the cup conforms to the surface.
Avoid overloading immediately after mounting. Let the seal stabilize before adding the full weight, and if you can, set it overnight with no load.
Improve adhesion with specialty products. Suction cup adhesive or double-sided mounting tape provides backup adhesion if suction alone proves insufficient, and you can also use the same approach described in our guide to adhesive cleanup when it is time to remove residue from past mounting attempts.
Consider alternative mounting methods. If suction repeatedly fails on your bathroom surfaces, adhesive-mounted dishes or dishes with wall brackets are more reliable, and they reduce the “fall and crack” cycle.
What this means: Clean surfaces, correct placement, and realistic load expectations fix most suction issues, and repeated failures are a sign to change mounting style.
Fixing Cracked Dishes
Section titled “Fixing Cracked Dishes”Cracks in plastic soap dishes create sanitary concerns beyond cosmetic issues. Water traps in cracks and harbors contamination.
Assess whether repair is worthwhile. Inexpensive dishes are often more practical to replace than repair, while decorative or matched sets may justify repair effort.
Adhesive repair rarely succeeds long-term for wet applications. Many household adhesives soften with water exposure, so repairs may hold initially but fail with regular bathroom use.
Silicone sealant can seal cracks without structural repair. Marine or bathroom silicone fills the crack and prevents water infiltration, and while the repair is not invisible, it addresses the hygiene issue.
Solvent welding provides more permanent repair for some plastic types. Identifying the plastic type and applying the appropriate solvent can create a molecular bond, but it requires correct material identification.
Replacement provides the most reliable solution. Unless the dish has special value, cracks are usually your signal that cleaning is no longer the full solution.
Prevention focuses on avoiding impact and thermal stress. Dropping dishes and exposing them to extreme temperature changes causes most cracks.
What this means: If the dish is cracked, prioritize hygiene and safety, then decide whether a simple seal, a careful repair, or replacement makes the most sense.
How to Choose a Soap Dish That Stays Clean Longer
Section titled “How to Choose a Soap Dish That Stays Clean Longer”A soap dish that drains well is the easiest “cleaning hack” because it prevents the scum layer from forming in the first place. Look for a design that lifts the bar above puddles, encourages airflow, and has drainage holes that are easy to reach with a brush.
Plastic type matters for longevity. PP and HDPE tend to handle warm water, mild acids, and repeated cleaning better than brittle clear plastics, and a slightly matte finish often shows fewer water spots than a glossy one.
Mounting style can make or break your routine. Suction is convenient for renters and for frequent repositioning, but it needs smooth tile or glass, while adhesive mounts tend to be steadier on more surfaces and reduce surprise falls.
Ease of cleaning is a buying feature. A dish that comes apart, has wide drainage slots (not tiny channels), and does not have deep textures will stay cleaner with simple weekly wipe-downs.
Common Soap Dish Cleaning Mistakes
Section titled “Common Soap Dish Cleaning Mistakes”The goal is to remove buildup without damaging plastic, since surface damage makes future buildup faster and harder to remove.
Abrasive pads and scouring powders can scratch plastic and leave a “hazy” look that traps grime. If you need more scrub power, use a soft brush and add cleaning time (soak longer) instead of scrubbing harder.
Boiling water and very hot soaks can warp thinner plastics and weaken suction cup parts. Stick to warm water, and avoid heat shocks like pouring near-boiling water onto a cool dish.
Harsh solvents are a no-go for many plastics. Acetone, paint thinner, and strong solvent cleaners can cause softening, crazing, or cracking, especially on clear plastics.
Overusing bleach is another common problem. Bleach is useful for disinfection, but repeated or strong bleach soaks can discolor plastic and accelerate brittleness, so use a short, dilute rinse only after the scum layer is already removed.
Maintenance for the Dry-Soap Dish
Section titled “Maintenance for the Dry-Soap Dish”Ongoing maintenance prevents the heavy buildup that requires intensive cleaning.
Select dishes with drainage features. Elevated ridges, tilted bases, or drainage holes let water escape rather than evaporate in place, reducing deposit formation.
Empty and wipe weekly in normal use. Removing accumulated water and debris weekly prevents significant buildup from developing.
Move soap to a dry location between uses. Some households keep soap on the dish only during active use, storing it dry between showers.
Rinse and air dry periodically. Removing the dish and allowing complete drying between uses interrupts the moisture cycle that promotes buildup.
Rotate between multiple dishes. Having two dishes in rotation allows each to dry completely while the other is in use.
Simple maintenance schedule
Section titled “Simple maintenance schedule”Weekly: rinse the dish, wipe it dry, and clean any visible film from drainage slots and suction cup rims. Monthly: do a vinegar reset soak and scrub, then fully dry before reassembling or remounting. Quarterly (or sooner if it smells musty): disinfect briefly if needed, inspect suction cups for stiffness or cracks, and replace the dish if plastic is crazed, stained, or splitting.
What this means: A small routine beats deep cleaning, and it keeps your soap drier, which also makes the bar last longer.
Clean vs Repair vs Replace (Fast Decision Guide)
Section titled “Clean vs Repair vs Replace (Fast Decision Guide)”If the dish is simply cloudy or slimy, cleaning is the right first step, and you usually do not need anything harsher than vinegar, dish soap, and a brush. If the suction fails but the cup is still flexible and the surface is smooth, a reset and careful remount solves it more often than not.
If the plastic is cracked, crazed, or permanently warped, replacement is usually the lowest-effort and most hygienic option. If you have repeated suction failures on textured tile, switching mounting style (adhesive or bracket) is often better than buying a new suction cup dish of the same design.
Summary Table
Section titled “Summary Table”| Issue | Solution | Prevention |
|---|---|---|
| Soap scum | Vinegar soak, gentle scrub | Drainage dish design |
| Mold/bacteria | Brief dilute bleach rinse after cleaning | Keep dish dry |
| Suction failure | Clean and reattach, check surface | Proper surface prep and reasonable load |
| Cracked dish | Silicone seal or replace | Avoid impact and heat shock |
| General grime | Weekly wipe | Short, regular maintenance |
References
Section titled “References”-
American Cleaning Institute. “Bathroom Cleaning Guide.” Industry guidance on bathroom sanitation.
-
Water Quality Association. “Soap Scum Formation.” Technical information on mineral reactions.
-
Plumbing Manufacturers International. “Bathroom Accessory Standards.” Industry standards for bath accessories.
-
Centers for Disease Control and Prevention. “Bathroom Hygiene.” Agency guidance on sanitary practices.
-
Consumer Reports. “Bathroom Organization.” Consumer guidance on bathroom accessories.