Restoring Yellowed Plastic Fan Blades - Dust Removal and Blade Balancing
📑 Table of Contents
Why Dust and Heat Yellow Fans
Section titled “Why Dust and Heat Yellow Fans”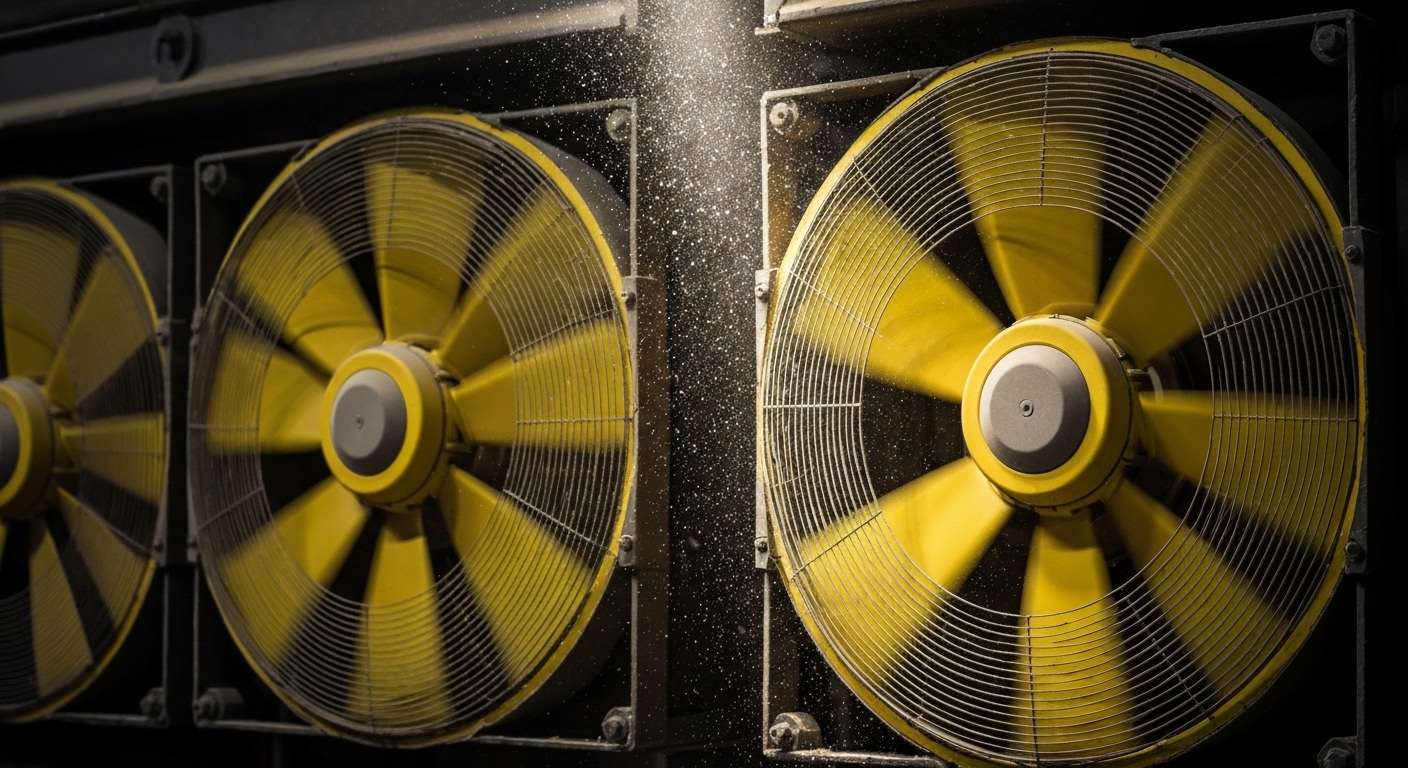
Ceiling fans and box fans develop yellow, grimy blades from a mix of dust, airborne oils, heat, and UV exposure. The change happens slowly, so it often only stands out when you clean a hidden area and notice it is much lighter.
Fans are basically dust magnets, airflow and static help particles cling with every rotation. In kitchens, a thin film of cooking oil traps even more dust, and warmth from the motor helps that sticky layer “bake on.”
Some yellowing is just buildup you can remove. Some is the plastic itself changing through oxidation and photodegradation, which is similar to other forms of sun damage and plastic aging.
Safety Precautions Before You Start
Section titled “Safety Precautions Before You Start”Fans mix electricity, height, and moving parts, so take a minute to set up safely. This also protects the motor and finishes, which keeps the fan running quietly after you restore the blades.
Turn the fan off, then switch off power at the breaker (not just the wall switch) so no one can accidentally start it while you are working; this is especially important if you’re also handling nearby fixtures or learning about tasks like cleaning plastic vent covers and registers. For a plug-in box fan, unplug it, and keep the plug in sight.
Use a stable step ladder that lets you work with your hips inside the rails, and never overreach. If the fan is high or you feel unsteady, ask for help, especially during blade removal and reinstall.
If you use hydrogen peroxide or degreasers, wear gloves and protect your eyes from splashes. Keep all liquids away from the motor housing, pull chain switch, capacitor cover, and any exposed wiring.
How to Clean and Restore Yellowed Fan Blades (Quick Steps)
Section titled “How to Clean and Restore Yellowed Fan Blades (Quick Steps)”- Cut power at the breaker (or unplug), confirm the fan cannot start.
- Dust with a microfiber cloth, pillowcase method, or vacuum brush to remove loose grit.
- Remove blades (recommended for ceiling fans), label each blade position, and set hardware aside.
- Wash blades with warm water plus dish soap, then rinse and dry fully.
- Degrease kitchen buildup if needed, then rinse again to remove any cleaner film.
- If yellowing remains, try a controlled hydrogen peroxide treatment, then rinse and dry.
- Reinstall blades evenly, tighten screws, then test for wobble at low speed.
- Balance the fan if needed, and stop using it if any blade shows cracks or brittleness.
Step-by-Step Fan Blade Cleaning Workflow (Start to Finish)
Section titled “Step-by-Step Fan Blade Cleaning Workflow (Start to Finish)”This workflow is written for ceiling fans first, then notes what changes for box fans and pedestal fans. Plan for 45 to 90 minutes for cleaning, plus drying time.
1) Power off and protect the area
Section titled “1) Power off and protect the area”Turn off the breaker, then place a drop cloth or old sheet under the fan to catch dust. If you are working over a bed or sofa, cover it, fan dust tends to be fine and gets into fabric.
2) Dry dust removal (do this before any water)
Section titled “2) Dry dust removal (do this before any water)”Dry dusting first prevents you from making muddy streaks that take longer to remove. Use a microfiber cloth or a slightly dampened cloth (not wet) for the final pass, especially on textured blades.
If the blades are very dusty, slide each blade into an old pillowcase, then pinch the fabric around the blade and pull outward to trap dust inside the case. This keeps debris from snowing down onto you.
3) Remove blades (best practice for deep cleaning and balancing)
Section titled “3) Remove blades (best practice for deep cleaning and balancing)”Support each blade with one hand while you remove the screws with the other. Keep screws and washers together in a small container, and label each blade position with masking tape (1 through 5, for example) so they go back exactly where they came from.
If your ceiling fan has blade brackets, keep each bracket with its blade. Mixing brackets can introduce a small angle difference that shows up as wobble.
4) Wash with a gentle cleaner
Section titled “4) Wash with a gentle cleaner”Mix warm water with a few drops of dish soap in a basin, then wipe both sides with a soft cloth. Rinse with clean water and immediately towel-dry to prevent drips wicking into seams or screw holes.
For wood-look printed finishes and decals, keep scrubbing gentle and avoid soaking. Many decorative finishes are surface-printed and can fade if you use strong degreasers or abrasives.
5) Target kitchen grease (if applicable)
Section titled “5) Target kitchen grease (if applicable)”Grease needs chemistry, not elbow grease. Start mild, then step up only if needed, and always rinse well so the blades do not stay tacky and attract dust faster.
6) Address remaining yellowing (optional peroxide step)
Section titled “6) Address remaining yellowing (optional peroxide step)”If the blades are clean but still yellow, decide whether the discoloration is surface staining or plastic aging. Hydrogen peroxide can help with oxidation yellowing on some plastics, but it will not reliably remove nicotine staining or repair UV-embrittled plastic.
7) Dry completely, then wait
Section titled “7) Dry completely, then wait”Drying is part of balancing. Let blades air-dry flat on towels for several hours, and longer if the blade has hollow channels or seams where water can hide.
Never reinstall blades that feel cool or damp. A small amount of trapped moisture can shift weight slightly, and it can also cause swelling or warping on some composite blades.
8) Reinstall, then test and balance
Section titled “8) Reinstall, then test and balance”Reinstall blades in their original positions, tighten screws firmly (do not over-torque), and confirm all brackets sit flush; while you’re finishing up, it’s a good time to tackle nearby maintenance tasks like cleaning yellowed plastic blinds. Turn the fan on at the lowest speed first, then increase speed gradually.
If you notice wobble, stop and balance before you run it regularly. Wobble is not just annoying, it stresses the motor and mounting.
Choosing the Right Cleaning Method (Restore vs Replace)
Section titled “Choosing the Right Cleaning Method (Restore vs Replace)”Not every yellowed fan blade is worth a whitening project. I use a quick decision check based on safety, plastic condition, and how the fan is used.
If there are cracks, stress whitening, a chalky surface, or the blade feels stiff and brittle when gently flexed, skip restoration and replace. Whitening does not restore strength, and a failed blade at speed can be dangerous.
If the blade is structurally sound and the yellowing looks even across the whole surface, peroxide may be worth trying. If the yellowing is patchy with sun-facing sections worse than others, you may see uneven results, which can make the blade look blotchy.
| Method | Best for | What you can expect | Downsides | When to choose replacement instead |
|---|---|---|---|---|
| Dry dusting | Light dust, maintenance | Cleaner look, better airflow | Won’t touch grease or yellowing | N/A |
| Soap wash | Dust plus light grime | Removes film, restores brightness | Can streak if not rinsed | If blades are warped or cracked |
| Degreasing | Kitchen oil buildup | Removes sticky layer so dust stops clinging | Can dull printed finishes, needs rinsing | If grease has damaged finish beyond repair |
| Hydrogen peroxide | Oxidation yellowing on some plastics | Partial to strong whitening, sometimes over multiple rounds | Can cause chalking or uneven tone, takes time | If blades are brittle, cracked, or heavily UV-degraded |
| Replacement | Brittle, warped, unsafe blades | Safe, like-new performance | Cost, matching parts | Always replace if any safety warning signs appear |
Removing Oily Grime from Kitchen Fans
Section titled “Removing Oily Grime from Kitchen Fans”Kitchen fans are a special case because grease changes how the fan behaves. It adds weight unevenly, traps dust, and can throw balance off even if the blades look “mostly clean.”
Warm water helps because it softens fats and lowers viscosity, so the grease releases faster. Your goal is to remove the oily film completely, then rinse so no cleaner residue stays behind.
| Cleaner option | Works best on | How to use | Risks and notes |
|---|---|---|---|
| Dish soap (degreasing dish liquid) | Light to moderate cooking oil | Warm water plus soap, wipe, rinse, dry | Safest for most finishes, may take 2 passes |
| Ready-to-use degreaser (kitchen or automotive) | Heavy, sticky buildup | Spray onto cloth (not motor area), wipe, rinse well | Can dull some printed or faux-wood finishes, spot test |
| Baking soda paste | Spots and edges with stubborn grime | Paste, gentle rub with soft cloth, rinse | Mild abrasion can haze glossy plastic and remove printed markings |
Avoid saturating screw holes or bracket joints while degreasing. Liquid that wicks into seams can later seep out during operation and collect dust.
The Hydrogen Peroxide Bath (Expanded)
Section titled “The Hydrogen Peroxide Bath (Expanded)”Hydrogen peroxide can brighten yellowed plastic when the discoloration comes from oxidation in the polymer or in a surface layer. It is not a magic reset, and it can make some plastics look chalky if you push it too far.
Concentration and what to buy
Section titled “Concentration and what to buy”Start with 3% hydrogen peroxide (standard drugstore strength). It is slower but less likely to over-whiten, streak, or roughen the surface.
For advanced users, 6% to 12% peroxide (often sold as hair developer) works faster but raises the risk of surface chalking and uneven results, especially on textured blades. I avoid very high concentrations unless the blades are inexpensive, replaceable, and you have already tested a small area.
Containers and setup
Section titled “Containers and setup”Use a clean plastic storage tote or glass container long enough for the blade to lie flat. Avoid metal containers, and avoid anything that might tip, since peroxide can bleach fabrics and some finishes.
If the blades are too large to submerge, you can use peroxide-soaked paper towels or cloths, then wrap the blade in clear plastic wrap to keep it wet. Keep all liquids well away from the motor housing, and treat blades off the fan whenever possible.
Temperature and light guidance
Section titled “Temperature and light guidance”Room temperature is safest. Warm peroxide can speed reactions, but it also increases the chance of surface changes, so do not heat peroxide on the stove or microwave it.
UV exposure boosts whitening, so indirect sunlight can help. Direct, intense sun can also heat the container and create uneven results, so check frequently and keep the bath from overheating.
Plastics it tends to work best on
Section titled “Plastics it tends to work best on”Results vary by resin and additives. In household fans, blades are often ABS, polystyrene blends, or polypropylene, and peroxide results range from “noticeable improvement” to “minimal change.”
Peroxide whitening generally works better on oxidation yellowing than on nicotine staining or deeper UV-driven damage, where the plastic structure has changed. If the surface turns dull or chalky, stop treatment and rinse immediately.
Timing, monitoring, and when to stop
Section titled “Timing, monitoring, and when to stop”Check progress every 30 to 60 minutes. Many blades show most of their improvement in 2 to 6 hours with 3% peroxide, with diminishing returns after that.
Stop if you see any of these: a chalky haze, a rough feel, streaking, or a patchy “two-tone” look. Rinse thoroughly, wash once with mild soap, and dry completely.
If the first round helped but did not fully brighten the blade, do another short round rather than one very long soak. Gentle repetition is easier on finishes.
Balancing Blades After Cleaning (Quiet and Safe Operation)
Section titled “Balancing Blades After Cleaning (Quiet and Safe Operation)”A fan that wobbles after cleaning usually has an uneven weight distribution, a loosened bracket, or a blade that changed shape. Cleaning can expose an existing imbalance because you removed uneven grime that was acting like a counterweight.
Quick diagnostic checklist
Section titled “Quick diagnostic checklist”Check the simple mechanical causes first. Tighten all blade screws and bracket screws, and make sure each bracket sits flush against the motor housing.
Confirm all blades went back into their original positions if you labeled them. Swapping blade positions can be enough to introduce wobble, even when each part is “within tolerance.”
Look at the blades edge-on while the fan is off. If one blade droops or has a different pitch, it may be warped, and balancing weights may not solve it.
Using a balance kit, and when it fails
Section titled “Using a balance kit, and when it fails”A balance kit works by adding small weights to the top of a blade to counter a heavy spot. It can solve minor imbalance from manufacturing tolerances or small cleaning differences.
Balance kits often fail when the blade is warped, degraded, or cracking near the screw holes. In those cases, adding weight might reduce wobble temporarily, but the blade is still unsafe and should be replaced.
If you see repeat wobble that returns after you tighten hardware, treat that as a warning sign. A fan should run smoothly without needing constant re-balancing.
Common Mistakes That Ruin Fan Blades
Section titled “Common Mistakes That Ruin Fan Blades”Bleach is a common culprit. Household chlorine bleach can discolor plastics, damage finishes, and make some plastics more brittle over time, so it is a poor choice for fan blades.
Abrasive pads and powdered scouring cleaners can permanently scratch glossy blades and remove printed wood-grain finishes. Scratches also hold onto grease and dust, so the blades get dirty faster.
Uneven cleaning causes uneven weight. If you deep-clean only one or two blades, you can trigger wobble, so treat all blades the same way and dry them for the same amount of time.
Reinstalling damp blades can trap moisture in seams and add temporary weight. That is a recipe for wobble and for dusty drip marks later.
Why Brittle Blades Are Dangerous
Section titled “Why Brittle Blades Are Dangerous”Aged plastic fan blades can become brittle and fail during operation. The same UV exposure and oxidation that cause yellowing can also reduce impact strength.
Signs include visible cracks, stress whitening near screw holes, and a stiff feel when you gently flex the blade. A healthy blade has a little give and returns to shape, a brittle one may feel rigid or show whitening lines.
If you see brittleness, replace the blades or the whole fan depending on parts availability. No cleaning method restores mechanical strength once the polymer has degraded.
Long-Term Maintenance Schedule (Keeps Blades White and Balanced)
Section titled “Long-Term Maintenance Schedule (Keeps Blades White and Balanced)”A little routine care prevents the thick grime that creates yellow-looking blades and wobble. It also keeps airflow efficient, which can reduce how hard the motor works.
Dust blades every 2 to 4 weeks in most homes, and weekly if you have pets, open windows often, or run the fan daily. Use a microfiber cloth or pillowcase method, and avoid spraying cleaners upward toward the motor.
Degrease kitchen fans every 1 to 3 months depending on how much you cook, and always rinse and dry. If you notice a sticky feel when you lightly touch the blade, it is time.
For UV prevention, keep sun-facing rooms shaded during peak hours, or consider UV-filtering window film to slow plastic aging. If a fan sits in direct sun and blades keep yellowing fast, replacement with higher-quality blades may be the most practical path.
Before/After Expectations (What Restoration Can and Cannot Do)
Section titled “Before/After Expectations (What Restoration Can and Cannot Do)”Cleaning removes dust film and grease, which often accounts for most “yellowing” people see. Peroxide can brighten some plastics, but it rarely makes old blades look factory-new if the plastic is deeply UV-damaged.
If you get a noticeably cleaner, more even color and the blades remain smooth and glossy, that is a good stopping point. Chasing perfect white can lead to chalky texture or blotchy tone, which looks worse than light yellowing.
Summary Table
Section titled “Summary Table”| Issue | Solution | Prevention |
|---|---|---|
| Surface dust | Wipe or wash | Regular dusting |
| Oily grime | Degreaser treatment | Range hood use |
| Yellow plastic | Peroxide treatment (test first) | Reduce UV exposure |
| Unbalanced | Dry completely, clean evenly, tighten hardware | Equal treatment and periodic screw checks |
| Brittle blades | Replace | Reduce UV exposure, retire aging plastics |
Can I use bleach to whiten yellowed fan blades?
Section titled “Can I use bleach to whiten yellowed fan blades?”I do not recommend it. Chlorine bleach can discolor many plastics, damage printed finishes, and may contribute to brittleness over time.
Can fan blades go in the dishwasher?
Section titled “Can fan blades go in the dishwasher?”Usually no. Dishwasher heat can warp plastics, and detergents can dull finishes or remove markings, plus the blade shape makes it hard to secure safely.
Should I paint yellowed fan blades instead?
Section titled “Should I paint yellowed fan blades instead?”Painting can work cosmetically, but it changes weight and can cause balance issues unless all blades are prepped and coated evenly. Paint also tends to chip on flexible plastics, so it is typically a last resort compared with cleaning, peroxide, or replacement.
Why did my fan start wobbling after I cleaned it?
Section titled “Why did my fan start wobbling after I cleaned it?”You likely removed buildup unevenly, reinstalled blades in different positions, or one blade is holding moisture in a seam. Tighten all hardware, confirm blades are back in their original positions, let everything dry fully, then use a balance kit if the blades are not warped.
References
Section titled “References”-
U.S. Consumer Product Safety Commission (CPSC). “Ceiling Fan Safety.” Safety guidance related to fan installation and hazards. https://www.cpsc.gov/
-
American Cleaning Institute. “Cleaning and Disinfecting Guidance.” General guidance on household cleaning methods and chemical use. https://www.cleaninginstitute.org/
-
Society of Plastics Engineers. Resources on polymer aging, oxidation, and UV effects on plastics. https://www.4spe.org/
-
ENERGY STAR. “Ceiling Fans” guidance on efficient fan use and maintenance considerations, including general upkeep tips that align with small appliance plastic care. https://www.energystar.gov/