Restoring Faded Plastic Truck Bed Liner - UV Damage Repair and Maintenance
📑 Table of Contents
The Grey and Ashy Transformation
Section titled “The Grey and Ashy Transformation”A bed liner that used to be deep black can turn dull grey and chalky even if you wash it regularly. That color change is usually UV-driven polymer oxidation, not dirt sitting on the surface. Once the top layer oxidizes, soap and a brush will not bring the black back.
Fading is the early warning, but the bigger issue is mechanical. As oxidation progresses, many plastics lose toughness and flex, then they start cracking from normal loads. The right restoration method depends on what the liner is made of and how far the damage goes.
Drop-In HDPE vs Spray-In Coatings
Section titled “Drop-In HDPE vs Spray-In Coatings”Most drop-in liners are high-density polyethylene (HDPE), formed as a rigid shell with colorant and UV stabilizers mixed in at the factory. HDPE takes abuse well, but once the stabilizers are consumed, the surface oxidizes and turns chalky. You can often improve the look because the damage starts at the surface.
Spray-in liners are typically polyurethane or polyurea coatings bonded to the truck bed. They can fade, but the more common failures are wear-through, cracking, or delamination from poor prep or heavy use. Restoration is usually re-coating or spot repair, not “re-oiling” the surface.
If you do not know what you have, check the edges. Drop-ins lift out as one piece and usually have molded ribs, spray-ins are continuous and follow every contour of the sheet metal.
Why UV Makes Bed Liners Fade
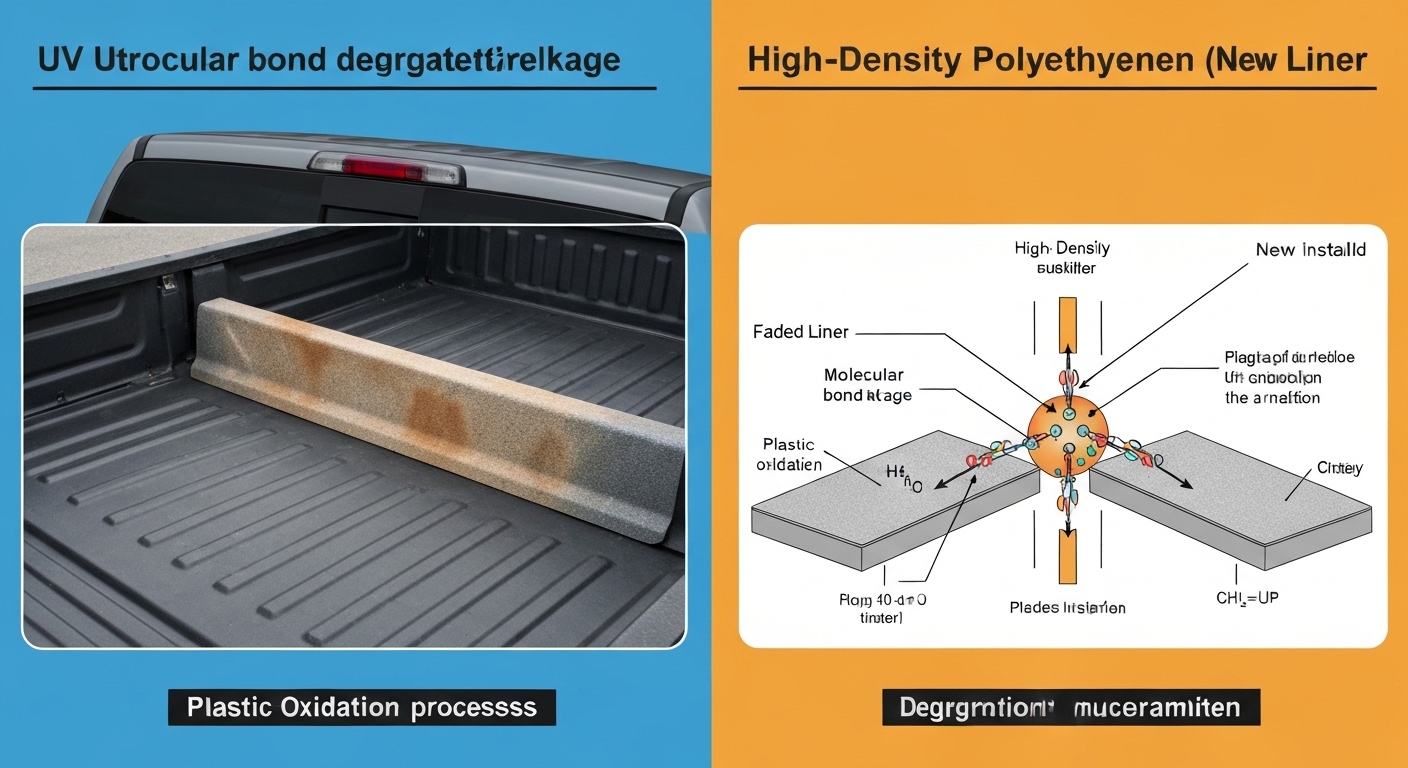
Section titled “Why UV Makes Bed Liners Fade”UV radiation kicks off photo-oxidation by breaking polymer bonds and creating free radicals that react with oxygen. That reaction changes the chemistry of the surface layer, so the grey is a real material change, not a film you can wash away. On heavily exposed liners, the degraded layer can extend deep enough that the surface feels dry and dusty.
As oxidation builds, HDPE can lose ductility and become brittle. That is when you see stress cracks near tie-downs, corners, or anywhere the liner is pinched by a poor fit. UV stabilizers slow the process, but once they are depleted, degradation accelerates.
Condition Check Before You Spend Money
Section titled “Condition Check Before You Spend Money”Do a quick inspection after a thorough wash. Flex an edge of the liner, if it feels stiff, makes creaking noises, or shows spider cracks, you are dealing with structural aging, not just cosmetic fade. If the liner is still flexible and the fade is uniform, restoration is usually worth doing.
Also look for worn-through spots and high ridges that have been flattened by sliding cargo; understanding the underlying causes, such as the science of UV degradation in outdoor plastics, can help you assess damage. Those areas can be restored, but they often need coating or texture rebuilding, not just a dressing.
Prep Work That Actually Matters
Section titled “Prep Work That Actually Matters”A restoration product cannot penetrate chalk, oil, or old silicone. Start with pressure washing, then scrub with a stiff nylon brush using a strong detergent or an automotive degreaser, similar to the prep required for UV oxidation repair for automotive plastics. Rinse until the runoff is clean, then dry the liner completely.
If the liner is heavily oxidized, lightly abrade the worst areas with a maroon Scotch-Brite pad and degreaser to knock down the dead surface. You are not sanding for shine, you are removing loose oxidation so the treatment can bond and soak in.
After cleaning, inspect again for cracks, broken mounting points, or areas that are rubbing the bed. Fix fitment issues now, because a tight spot will keep cracking no matter how black the liner looks.
Practical Restoration Options (From Fastest to Most Durable)
Section titled “Practical Restoration Options (From Fastest to Most Durable)”You have three realistic paths: penetrating trim restorers, heat reflow (limited use), or re-coating with a bed liner coating. Which one works depends on whether you need appearance only, or you also need durability and texture.
- Penetrating trim restorers (best effort-to-results ratio on HDPE): Products like Solution Finish-style restorers darken oxidized plastic by soaking into the surface and filling micro-voids. Apply with a foam or microfiber applicator, work it into the texture, let it dwell, then buff off all excess so you do not fill the grain. Expect reapplication because cargo abrasion wears it off.
- Re-coat with bed liner coating (most durable cosmetic fix): Raptor, Herculiner, and similar coatings can rebuild color and texture, but only if the surface is properly degreased and mechanically keyed. Scuff the surface (typically 80 to 120 grit equivalent), remove dust, then apply multiple thin coats to avoid runs and holidays. Respect cure time, most need at least 24 to 48 hours before real cargo use.
Why Silicone Dressings Make Bed Liners Dangerous
Section titled “Why Silicone Dressings Make Bed Liners Dangerous”Silicone-based protectants leave a slick film, which is fine on interior plastics but a problem in a truck bed. It reduces friction and makes cargo slide, especially on braking, and it can make footing unsafe when you climb in. On textured liners, silicone also clings in the valleys, so the “slippery” can come back after it dries.
If you already used a silicone dressing, you usually need repeated degreasing and hot water scrubs to strip it, especially when restoring faded HDPE plastic with proven methods like those outlined in restoring faded HDPE plastic with proven methods. A citrus-based degreaser followed by a strong detergent wash is often more effective than dish soap alone.
Fixing Cracks in Drop-In HDPE Liners
Section titled “Fixing Cracks in Drop-In HDPE Liners”HDPE is a low surface energy plastic, so most adhesives fail unless you use specialized primers and surface treatment. In the shop, the reliable repair is plastic welding, either with a hot air plastic welder and HDPE rod, or careful work with a temperature-controlled iron. Done correctly, you are fusing material, not gluing it.
Prep determines strength. V-groove the crack with a rotary burr, clean with a plastic-safe solvent, then weld in passes so you get penetration, not just a surface smear. In stress areas, add a backing patch on the underside and weld the perimeter to distribute load.
If the liner has multiple cracks and feels brittle everywhere, you are past economical repair. At that point, replacement is cheaper than chasing failures.
Removing Cement, Paint, and Oil Contamination
Section titled “Removing Cement, Paint, and Oil Contamination”For spills, mechanical removal comes first. Use a plastic scraper and patience, especially on textured surfaces, because metal scrapers can gouge the peaks and make the liner look worse.
Concrete can be softened with a concrete remover or carefully used dilute acid, then neutralized and rinsed thoroughly. Paint removal depends on chemistry, latex often responds to warm water and scraping, oil-based paints may need mineral spirits, but you must spot-test because some solvents can swell or haze plastics.
Oil stains are stubborn because the contamination can migrate into the surface. Use a strong degreaser, then apply an absorbent poultice (kitty litter or diatomaceous earth works) and let it sit overnight, then repeat. Heat cycling with a heat gun can help sweat oil out, but keep temperatures controlled to avoid warping the liner.
Keeping Drain Holes Open and Rust Out of the Bed
Section titled “Keeping Drain Holes Open and Rust Out of the Bed”Drop-in liners can trap water between the plastic and the steel bed if drain holes clog. Check that the liner holes align with the factory drains, then clear them with a pick or wire during routine cleaning. If water sits under the liner, you get hidden rust that spreads long before you see it.
If you ever pull the liner, inspect the bed paint, treat chips, and address surface rust immediately. A liner protects from impacts, but it can also grind through paint at contact points, so consider adding thin rubber strips at known rub areas.
Verdict: Restoring a 10-Year-Old Liner
Section titled “Verdict: Restoring a 10-Year-Old Liner”Restore a liner when the problem is primarily oxidation and the plastic still has flex with minimal cracking. Use a penetrating restorer for a quick improvement, or a coating system when you need durability and texture rebuilding. Replace the liner when it is brittle, cracked in multiple spots, or worn through, because cosmetic fixes will not bring back impact strength.
References
Section titled “References”-
PolyOne Corporation. “UV Stabilization of Polyethylene.” Technical guidance on PE degradation and stabilization.
-
LINE-X Corporation. “Spray-On Bed Liner Application Guide.” Manufacturer guidance on coating application.
-
DuPont Performance Polymers. “Weathering Performance of HDPE.” Technical data on polyethylene UV degradation.
-
Raptor Liner U-POL. “Raptor Bed Liner Application Instructions.” Product application and preparation guidance.
-
Society of Automotive Engineers. “SAE J2527: Performance Based Standard for Accelerated Exposure of Automotive Exterior Materials.” Industry standard for UV testing.