Cleaning Plastic Keyboard Dust Covers - Yellowing Prevention and Streak-Free Care
📑 Table of Contents
How to Clean a Plastic or Silicone Keyboard Cover (Streak-Free)
Section titled “How to Clean a Plastic or Silicone Keyboard Cover (Streak-Free)”This quick start works for silicone keyboard covers and most TPU covers. It focuses on removing oils without leaving haze or mineral spots.
- Rinse the cover under lukewarm water to remove loose dust and grit.
- Wash with a few drops of mild dish soap, using your fingers to gently rub all surfaces.
- Rinse thoroughly under running water until the surface no longer feels slick.
- Do a final rinse using distilled or filtered water to reduce mineral spotting.
- Pat dry with a clean microfiber cloth, pressing rather than wiping.
- Lay flat on a lint-free towel and air-dry for 30 to 60 minutes before reinstalling.
Drying do and don’t checklist:
- Do use distilled water for the final rinse if you have hard tap water.
- Do pat dry with microfiber instead of letting water evaporate on its own.
- Don’t hang the cover, as water pools can leave streaks and distort flexible materials.
- Don’t reinstall until every corner and contour is fully dry.
Why Silicone Covers Yellow
Section titled “Why Silicone Covers Yellow”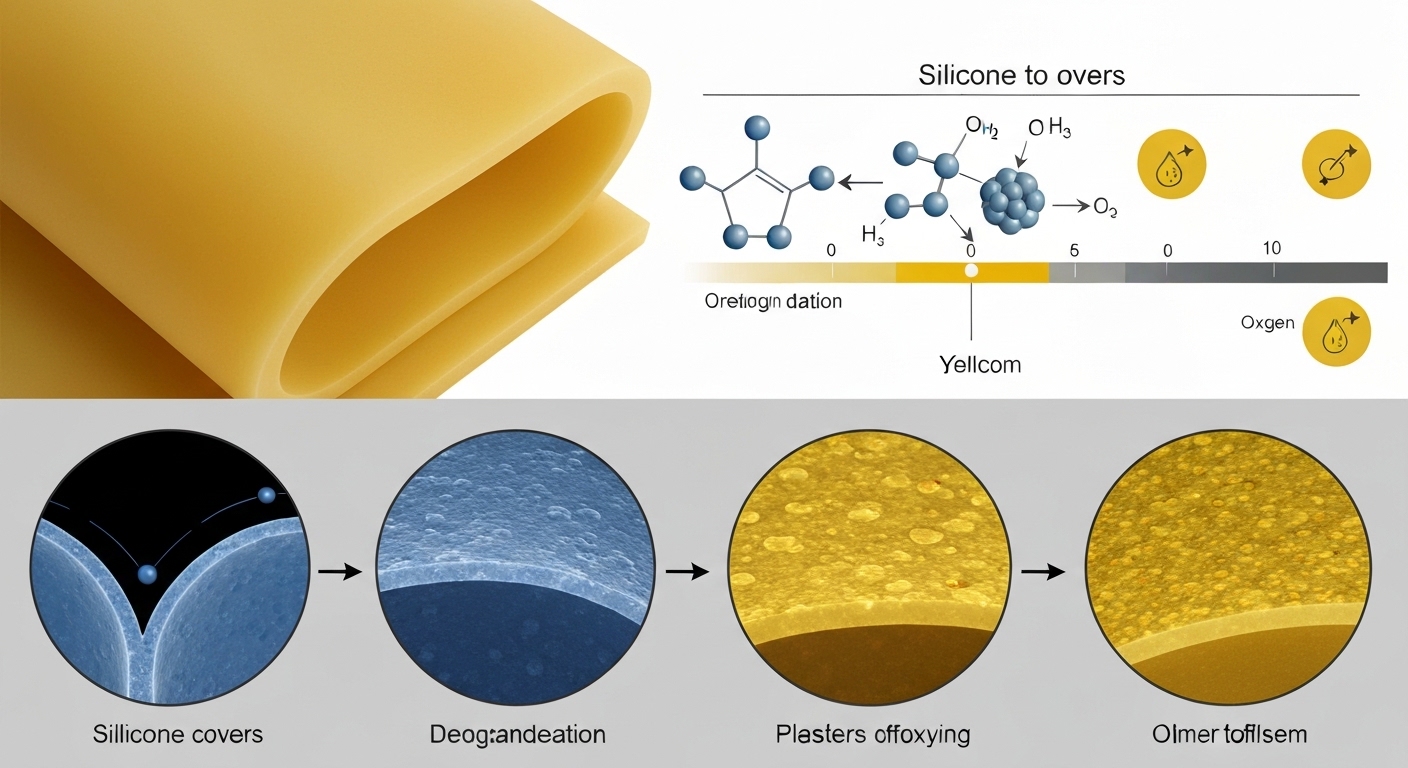
Keyboard dust covers, especially silicone and TPU types, yellow mainly due to UV exposure combined with oxygen and skin oils. This process happens gradually and often shows up as discoloration long before the cover stops fitting or protecting your keyboard.
The yellowing process is a form of photooxidation. UV light triggers chemical changes in the polymer, forming compounds that absorb blue light and make the material look yellow. A similar mechanism affects outdoor plastics and clear phone cases.
Understanding whether yellowing is surface contamination or internal material change matters. Cleaning can remove oils and dirt, but it cannot fully reverse UV damage inside the material.
The Dish Soap Wash Method
Section titled “The Dish Soap Wash Method”Regular washing with mild dish soap is the safest and most effective routine for everyday maintenance.
Fill a basin with warm, not hot, water and add a few drops of dish soap. Too much soap makes rinsing harder and increases the chance of residue and streaking.
Submerge the keyboard cover and gently flex it so the soapy water reaches every contour. A 5 to 10 minute soak helps loosen built-up oils on heavily used covers.
Rub the surface lightly with your fingers or a very soft cloth, focusing on areas above frequently used keys. Rinse thoroughly until no soap feel remains.
What this means: Mild soap removes the oils that accelerate yellowing and cause key staining, without stressing the material.
Drying Without Streaks
Section titled “Drying Without Streaks”Drying technique has a bigger impact on clarity than most people expect.
After rinsing, gently shake off excess water. Fewer droplets mean fewer minerals left behind as water evaporates.
If you have hard water, always use a distilled or filtered final rinse. Pat drying with microfiber removes water before minerals can settle and form haze.
If you see spots after drying, re-wet just that area with distilled water and pat dry again. Avoid wiping motions, which can leave lint or drag residue.
Preventing Key Staining
Section titled “Preventing Key Staining”Keyboard covers protect keys only when they are clean and properly used.
Oils and debris can become trapped between the cover and the keyboard. Over time, this can stain keycaps or create fine scratches from grit pressed down during typing.
When you clean the cover, also clean the keyboard surface. Use a dry soft brush or compressed air first, then a barely damp microfiber cloth. Never let liquid drip into the keyboard.
If a colored cover starts leaving pigment on keys, stop using it. Pigment bleed usually means the material is degrading and will continue to cause staining.
Addressing Yellowed Covers
Section titled “Addressing Yellowed Covers”Yellowing falls into two categories, surface contamination and UV degradation.
If the discoloration is from oils and grime, thorough soap washing often restores clarity. If the yellow tone remains after cleaning, UV damage is likely involved.
Hydrogen peroxide can partially improve UV-yellowed silicone and some TPU covers, but expectations should be realistic. The process may lighten color unevenly and rarely restores a like-new appearance.
For a peroxide treatment, use 3 percent hydrogen peroxide and fully submerge the cover in a clear container. Place it in indirect sunlight and check progress every 30 to 60 minutes. Total exposure time usually ranges from 2 to 6 hours.
Rinse thoroughly with distilled water afterward to remove residual peroxide, and consider broader best practices for cleaning and preventing yellowing in other clear plastic surfaces to maintain long-term clarity. Stop the process immediately if you notice tackiness, chalky white patches, or texture changes.
Do not try peroxide treatment on rigid acrylic or polycarbonate covers; these materials are more prone to surface damage and clouding, a risk better understood through the science of plastic yellowing from UV exposure.
Sometimes replacement is the most practical option. If yellowing is deep or the cover feels sticky or brittle, it has reached the end of its useful life.
Cover Material Considerations
Section titled “Cover Material Considerations”Knowing your cover material helps you choose safe cleaners and realistic care routines.
Silicone covers feel very flexible, slightly rubbery, and usually have a neutral odor. They tolerate heat and mild disinfectants better than most plastics.
TPU covers feel smoother and slightly firmer than silicone, often with higher clarity. They yellow faster under sunlight and are more sensitive to alcohol overuse.
Rigid covers made from acrylic or polycarbonate are stiff and perfectly clear when new. They scratch easily and can craze or haze if exposed to solvents.
If you are unsure, check the product listing or packaging. When in doubt, stick to dish soap and water.
Cleaner Compatibility Chart
Section titled “Cleaner Compatibility Chart”| Cleaner | Silicone | TPU | Acrylic or Polycarbonate |
|---|---|---|---|
| Mild dish soap | Safe | Safe | Safe |
| Distilled water | Safe | Safe | Safe |
| Isopropyl alcohol (70%) | Use caution | Use caution | Avoid |
| Disinfectant wipes | Use caution | Use caution | Avoid |
| Hydrogen peroxide 3% | Use caution | Use caution | Avoid |
| Bleach or ammonia | Avoid | Avoid | Avoid |
| Dishwasher detergent | Avoid | Avoid | Avoid |
Cleaners to Avoid
Section titled “Cleaners to Avoid”Avoid bleach, ammonia, strong degreasers, and abrasive tools like melamine sponges. These cause haze, cracking, or sticky surfaces that cannot be reversed.
Dishwashers are also a poor choice. Heat, harsh detergents, and mechanical force distort flexible covers and damage rigid ones.
Extending Cover Life
Section titled “Extending Cover Life”Reducing UV exposure is the single most effective way to slow yellowing.
Keep keyboards out of direct sunlight, even through windows. Artificial lighting causes far less degradation than daylight.
Wash covers weekly if used daily. Light, frequent cleaning is gentler than infrequent deep cleaning.
Allow covers to fully dry off the keyboard, and remove them during long periods of non-use. This reduces trapped moisture and oil exposure.
FAQ: Keyboard Cover Cleaning, Disinfecting, and Yellowing
Section titled “FAQ: Keyboard Cover Cleaning, Disinfecting, and Yellowing”Can I use isopropyl alcohol wipes on my keyboard cover?
Occasional light use is usually fine on silicone, but frequent alcohol exposure dries the surface and increases haze. On TPU it can accelerate yellowing, and on rigid plastics it often causes clouding. Soap and water are safer for routine cleaning.
Can a keyboard cover go in the dishwasher?
No. Dishwasher heat and detergents warp flexible materials and damage rigid covers. Hand washing gives better results with far less risk.
How do I disinfect a keyboard cover safely?
Clean first with soap and water. If disinfection is needed, use a diluted disinfectant approved for plastics, apply briefly, and rinse thoroughly. Disinfecting is not necessary for most home and office use.
Why does my cover look hazy or streaky after washing?
Haze usually comes from soap residue or hard water minerals. Re-rinse with distilled water and pat dry with microfiber. Avoid air drying with droplets left on the surface.
How often should I wash my keyboard cover?
Weekly cleaning works well for daily use. If you eat at your desk or have oily skin, twice weekly helps prevent buildup and yellowing.
Will peroxide damage my keyboard cover?
It can if overused. Short, monitored treatments may lighten silicone and TPU, but prolonged exposure causes texture changes and brittleness; for a deeper explanation of why keyboard plastics yellow and how to restore them, the same cautions apply. Never use peroxide on rigid plastic covers.
References
Section titled “References”- PubChem. “Hydrogen Peroxide.” https://pubchem.ncbi.nlm.nih.gov/compound/Hydrogen-peroxide
- Wypych, G. “Handbook of UV Degradation and Stabilization.” ChemTec Publishing.
- British Plastics Federation. “Effects of UV Light on Plastics.” https://www.bpf.co.uk
- American Chemical Society. “Photooxidation of Polymers.” https://www.acs.org