Cleaning Plastic Venetian Blinds - Yellowing Removal and Slat Repair
📑 Table of Contents
The Yellowing and Dust Problem
Section titled “The Yellowing and Dust Problem”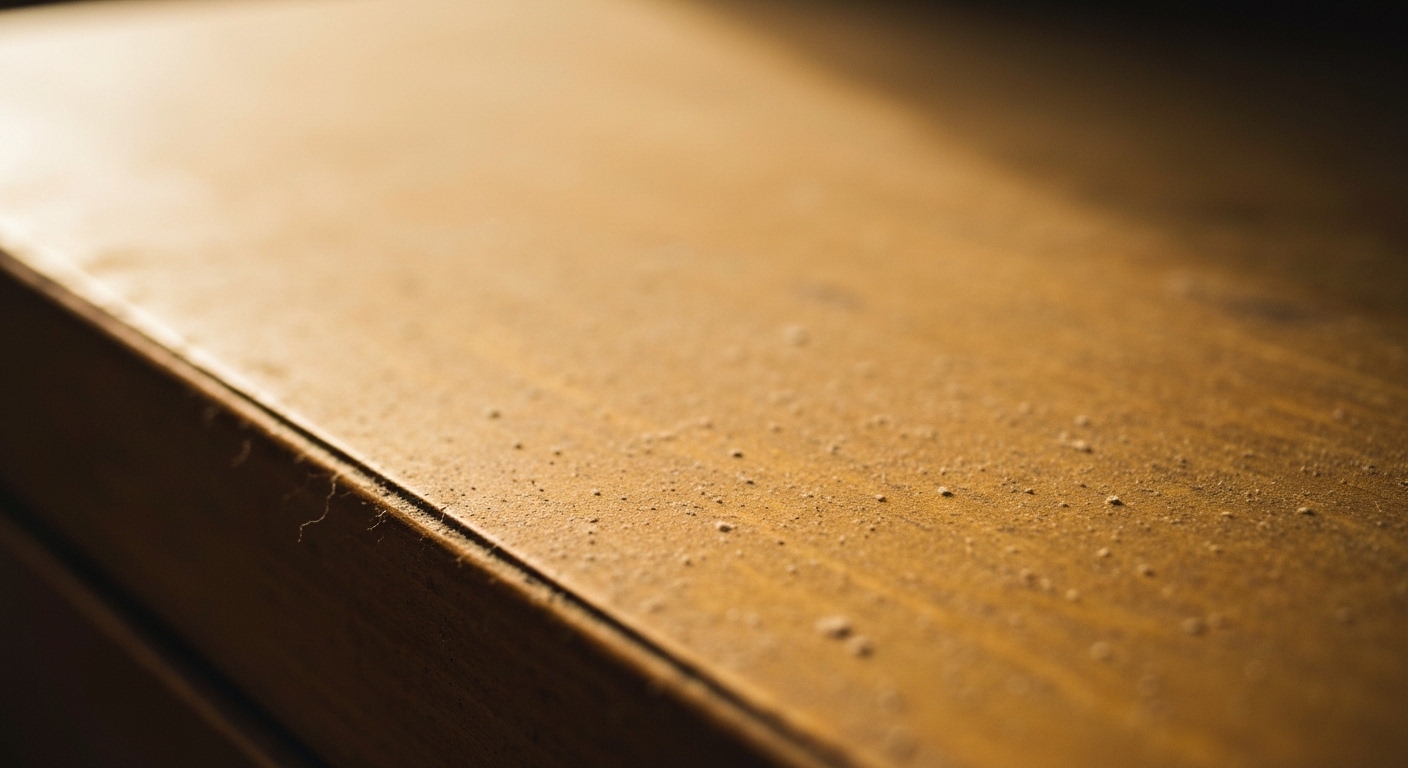
Plastic venetian blinds that once looked crisp often end up with yellowed slats plus a sticky layer that grabs dust. Some of that “yellow” is just film, some is surface oxidation, and some is permanent UV discoloration inside the PVC or vinyl itself.
Blinds are fiddly because every slat has two faces and edges, and the cords, ladders, and tilt parts hate getting snagged. The easiest way to get good results is to pick a method based on soil type (dust, grease, smoke, mildew) and whether you can remove the blind.
How to clean plastic venetian blinds (fast method)
Section titled “How to clean plastic venetian blinds (fast method)”- Close blinds fully in one direction.
- Vacuum with a brush attachment.
- Wipe each slat using microfiber or socks (dry for dust, damp for film).
- Flip direction and repeat.
- Spot-clean grime with mild dish soap solution.
- Dry, then apply a light anti-static treatment.
Tools & Supplies (by budget)
Section titled “Tools & Supplies (by budget)”Most people already have enough at home to do a safe, effective clean on PVC or vinyl slats. If you shop, prioritize soft tools and mild cleaners, and skip anything abrasive or solvent-heavy.
Basics (lowest cost): microfiber cloths (or clean socks), a vacuum with brush attachment, bucket, mild dish soap, and a soft toothbrush or small soft scrub brush for edges.
Helpful upgrades (mid-range): a gentle kitchen degreaser (non-solvent, non-abrasive), oxygen bleach powder (sodium percarbonate) for whitening soaks, and a small spray bottle for controlled misting.
Optional finish: anti-static spray safe for plastics, or unscented dryer sheets for a light wipe.
Avoid: abrasive powders, scouring pads, strong solvents (acetone, lacquer thinner, paint stripper), and heavy-duty alkaline cleaners that can haze vinyl. Use “magic eraser” type melamine foam only with extreme care because it is micro-abrasive and can dull glossy slats.
Pick Your Cleaning Method (2-minute decision tree)
Section titled “Pick Your Cleaning Method (2-minute decision tree)”Use this quick chooser before you start so you do not over-wet cords, smear grease, or waste time soaking blinds that only needed a vacuum.
| Problem | Best method (in place vs remove/soak) |
|---|---|
| Dust only, no stickiness | In place: vacuum + dry microfiber/sock wipe |
| Kitchen grease film, fingerprints | In place: damp wipe with dish soap solution, spot-degrease. Remove/soak if buildup is heavy |
| Nicotine/soot film, brown runoff | Prefer remove/soak for full reset. In place works for light buildup but takes longer |
| Mildew spots (bathroom, condensation) | In place for small spots with peroxide-based cleaner. Remove/soak if widespread |
| Yellowing from sun | Remove/soak for whitening attempts (peroxide or oxygen bleach). Replace if bulk discoloration is deep |
If you cannot take blinds down, stick to the in-place methods and keep moisture controlled near the headrail and cord lock. If you can remove them safely, submersion saves time for greasy or smoky buildup, and it is the only practical way to attempt whitening across all slats evenly.
Safety & Material Compatibility (PVC/vinyl blinds)
Section titled “Safety & Material Compatibility (PVC/vinyl blinds)”Most plastic venetian blinds are PVC or vinyl blends with additives that can react poorly to harsh chemistry. Strong solvents can soften or embrittle plastic, and abrasives can permanently haze the finish so it looks “dirty” even when it is clean.
Ventilate well, especially if you are tackling kitchen film or smoke residue, and wear gloves if you have sensitive skin. Patch-test any cleaner on one end slat and wait until fully dry before committing, because some damage only shows after evaporation.
Avoid chlorine bleach on plastic slats and especially on cords and ladder strings, it can weaken fibers and leave uneven light spots. Stick with dish soap, peroxide-based products, or oxygen bleach for whitening attempts.
The Socks-on-Hands Cleaning Hack
Section titled “The Socks-on-Hands Cleaning Hack”This is still my favorite “everyday practical” method because it is fast, low-waste, and gentle on slats. It also helps you avoid over-wetting cords and the headrail.
Start with a 60-second prep: close the blinds and vacuum with a brush attachment from top to bottom. This lifts the loose grit that can scratch when you wipe.
Microfiber works best because it grabs fine dust without needing spray, and it is less likely to push dust into corners than cotton. If you only have cotton socks, use them dry for dust, and switch to microfiber for any damp wiping.
Close blinds fully in one direction so the slats form a continuous angle. Pinch one slat lightly between your hands and glide from one side to the other, using just enough pressure to contact both faces without bending the slat.
Flip the blinds the opposite direction and repeat, because you only cleaned one face on the first pass. For dust-only cleaning, keep the socks dry, and you are done.
For film (grease, smoke, hand oils), dampen the socks or cloths, do not soak them. A good rule is “damp means no drips,” especially near the cords and the headrail.
Deep Cleaning by Submersion
Section titled “Deep Cleaning by Submersion”If slats feel tacky, the dust keeps returning fast, or you see brown runoff when you spot-clean, a soak is usually quicker than endless wiping—much like when tackling cleaning plastic vent covers and registers, where buildup needs more than a quick pass. Plan for drying time because reinstalling wet blinds can cause streaks and can swell wood trim around windows.
If possible, remove any metal headrail parts from the soak to reduce rust risk, and keep the cord lock mechanism as dry as you can. Some blinds have a headrail that should not be submerged, even if the slats are fine in water.
Fill a bathtub or large tote with lukewarm water and a small squeeze of dish soap. Lukewarm is safer than hot because heat can warp thin vinyl slats, and it is kinder to the ladder strings.
Lower the blind assembly in slowly and let it soak 15 to 30 minutes for general grime, or up to 60 minutes for smoke film. If your blinds have fabric tapes or cloth ladders, keep soak time shorter and avoid aggressive agitation so the fabric does not fray.
Wipe slats while they are submerged, working top to bottom, because the water supports the slats and reduces bending. Use a soft brush only on edges and stubborn specks, and avoid scrubbing across the slat face with anything abrasive.
Rinse thoroughly with cool to lukewarm water until it runs clear, because leftover soap film attracts dust. Shake off water, blot with towels, then hang to air dry fully before reinstalling to prevent water spots.
Removing Yellowing from Sun Damage
Section titled “Removing Yellowing from Sun Damage”Yellowing on plastic blinds can be three different things: removable surface film, surface oxidation that can sometimes be lightened, or deep UV discoloration throughout the plastic that cannot be “cleaned off.” Knowing which one you have prevents wasting time, and it helps you decide when replacement is smarter—much like understanding the difference between surface damage and permanent discoloration when restoring yellowed vinyl window frames.
Yellowing: What’s Cleanable vs What’s Permanent
Section titled “Yellowing: What’s Cleanable vs What’s Permanent”If a slat looks yellow but the cloth comes away brown or gray during a mild soap wipe, that is mostly grime and oxidation on the surface. If the slat stays yellow even after a full clean and looks evenly tinted through the thickness (especially at cut edges), that is usually bulk UV discoloration.
A practical stop point is when cleaning and a whitening attempt improve the slats by only a small amount, and the color still reads “cream” next to true white trim. If cords are brittle, slats are warped, or the headrail hardware is failing, replacement often costs less than the time and materials needed to chase a perfect white.
Option A: 3% hydrogen peroxide (consumer grade)
Section titled “Option A: 3% hydrogen peroxide (consumer grade)”Use regular 3% hydrogen peroxide for gentle brightening when the yellowing seems surface-level. It is slower than stronger methods, but it is widely available and easier to control.
Container setup: use a clean bathtub, long under-bed storage bin, or tote that lets slats lie flat. Add enough peroxide to fully cover the slats, or use a peroxide-water mix if you have a large container, but know that dilution reduces whitening power.
Dwell time: start with 2 to 4 hours, then check. For tougher oxidation, you can go up to 8 to 12 hours, checking every couple of hours so you stop once improvement plateaus.
Temperature: keep it lukewarm or cooler, never hot. Heat can warp slats and can speed up uneven results.
Light: bright daylight can help peroxide work, but avoid baking the plastic in direct hot sun. If the container is outside, keep the water cool and check more often.
Success looks like a noticeable shift toward a cleaner, less “tea-stained” tone after rinsing and drying. Stop if you see patchiness, chalkiness, or no improvement after a full cycle.
Option B: oxygen bleach soak (sodium percarbonate)
Section titled “Option B: oxygen bleach soak (sodium percarbonate)”Oxygen bleach is my go-to for many whitening jobs because it is chlorine-free and generally safer for plastics when used reasonably. It also rinses cleaner than many heavy cleaners, which helps with dust control later.
Mixing ratio: a practical home mix is 1 tablespoon of oxygen bleach powder per 1 gallon (3.8 L) of lukewarm water for a gentle soak. For heavier yellowing or smoke staining, you can increase to 2 tablespoons per gallon, but patch-test first.
Dwell time: soak 1 to 3 hours, then check. You can extend up to 6 hours if needed, but do not leave blinds soaking overnight, especially if there are fabric components or you cannot fully rinse right away.
Rinse and dry fully, because leftover oxygen bleach can leave a faint residue that attracts dust. If you want deeper chemistry and options for whitening other household plastics, use the dedicated guide at yellowed.
What not to use for yellowing
Section titled “What not to use for yellowing”Skip chlorine bleach for plastics and cords, it can weaken ladders and lift color unevenly. Also avoid strong solvent cleaners that claim to “restore” plastic, they can permanently haze vinyl slats.
Fixing Snapped Slats
Section titled “Fixing Snapped Slats”You can replace a few broken slats without replacing the whole blind, as long as the ladders and tilt system are still in decent shape. First, identify the slat width (commonly 1 inch or 2 inches) and match thickness and finish, because off-brand slats can sit crooked.
The easiest donor slats are often from the bottom where they are less visible behind a valance. Slide the broken slat out of the ladder string, then slide the donor slat into the open rung, keeping the slat centered so it tilts evenly.
If the slat is cracked but not missing pieces, a quick repair can work in an inconspicuous spot. Use tape or a compatible adhesive sparingly so the slat stays flat, then expect that repair to show when light hits it.
For adhesive selection and plastic-safe surface prep, start with adhesive if you need to remove old sticky residue first, and then follow a dedicated plastic repair method at plastic repair for cleaning and prep principles. If the slats are brittle and cracking in multiple places, replacement is usually the better call.
Quick Fixes Beyond Slats (common hardware failures)
Section titled “Quick Fixes Beyond Slats (common hardware failures)”Broken slats are only one failure point, and many “dirty blind” complaints are really a hardware issue that makes slats sit crooked and collect more dust. A few small fixes can buy you months or years if the blinds are otherwise sound.
Tilt wand stiffness or a stuck tilter often comes from dust and kitchen film inside the headrail. Start by vacuuming the headrail gently, then wipe the wand and tilt rod area with a barely damp cloth, and avoid oils that turn into sticky dust magnets.
Ladder strings that are frayed, twisted, or uneven will make slats sag and rub, which speeds breakage. If only one ladder rung is damaged, you may be able to reposition slats to a less visible area, but multiple breaks usually mean restringing or replacing the blind.
Cord lock slipping (blinds won’t stay up) is commonly caused by worn lock teeth or a glossy cord. Clean the cord with mild soap and water, let it dry fully, and if it still slips, the lock mechanism is typically a replacement part, not a cleaning issue.
If the headrail is bent, the cords are brittle, and you see repeated failures (slats cracking plus ladder damage plus cord lock slip), replacement is often safer than a patchwork repair. That is especially true for older PVC blinds that have become stiff from UV exposure, a degradation similar to what people address when restoring yellowed plastic fan blades.
The Anti-Static Spray Approach
Section titled “The Anti-Static Spray Approach”Plastic builds static, and static makes dust cling harder than it should. The goal is a very light anti-static layer after the blinds are fully clean and fully dry.
Product types that work include anti-static sprays labeled for plastics and electronics, and dryer sheets as a low-waste wipe option if you are using what you already have. Apply lightly and evenly, because overapplying can leave a tacky film that attracts more dust.
Reapply every 3 to 6 weeks in dry seasons, or after any damp wipe-down. If you notice dust sticking faster after treatment, it usually means there is still soap residue on the slats, or the anti-static product was applied too heavily.
Maintenance Schedule
Section titled “Maintenance Schedule”A simple routine keeps blinds from turning into a big seasonal project. Frequent light cleaning is easier on ladders, cords, and slats than occasional heavy scrubbing.
Weekly or biweekly, do the vacuum-and-dry microfiber pass. Monthly, do a controlled damp wipe on kitchen-side blinds or anywhere hands touch the slats.
Plan a deeper clean once or twice a year, or more often for kitchens, smokers’ rooms, or windows that stay cracked open near traffic dust. After any wet cleaning, dry thoroughly and then apply a light anti-static wipe to slow re-soiling.
Real-World Examples (time + results)
Section titled “Real-World Examples (time + results)”Example 1: Bedroom dust only (in place). Time: 10 minutes for a standard window. Method: vacuum brush + dry microfiber socks, both directions. Result: slats look evenly bright, and dust stops puffing into the room when you tilt them.
Example 2: Kitchen film near the stove (in place, then partial soak). Time: 25 minutes in place, or 60 to 90 minutes with removal and soak plus drying time. Method: damp dish soap wipe, then oxygen bleach soak at 1 tablespoon per gallon for 2 hours if tackiness remains. Result: the “sticky dust” layer releases, and future dusting becomes quick again.
Example 3: Sun-facing window with yellowing (remove and whiten attempt). Time: 2 to 6 hours active plus dwell time. Method: full clean first, then 3% peroxide soak for 4 to 8 hours in a tote, checking every 2 hours. Result: mild to moderate improvement if yellowing is surface-level, little change if the plastic is deeply UV-discolored.
Summary Table
Section titled “Summary Table”| Issue | Solution | Prevention |
|---|---|---|
| Dust accumulation | Vacuum + sock/microfiber wipe | Weekly dusting |
| Heavy grime | Submersion wash | Regular maintenance |
| Static attraction | Anti-static treatment | Reapply after cleaning |
| Yellowing | Peroxide or oxygen bleach treatment | UV-blocking film |
| Broken slat | Replace with spare | Gentle handling |
FAQ: Cleaning Plastic Venetian Blinds
Section titled “FAQ: Cleaning Plastic Venetian Blinds”Can you use vinegar to clean plastic blinds?
Section titled “Can you use vinegar to clean plastic blinds?”Yes for light cleaning, but it is not great on greasy film by itself. If you use it, keep it diluted and always rinse, because residue can make dust stick.
Is bleach safe on vinyl or PVC blinds?
Section titled “Is bleach safe on vinyl or PVC blinds?”Avoid chlorine bleach on slats, cords, and ladders because it can weaken materials and leave uneven light spots. If you need whitening, use oxygen bleach or 3% hydrogen peroxide instead.
Can I pressure wash plastic blinds?
Section titled “Can I pressure wash plastic blinds?”It is risky because pressure can bend slats, blast out ladder strings, and force water into the headrail. A hose on a gentle shower setting is safer if you are rinsing outdoors.
How do I clean blinds without taking them down?
Section titled “How do I clean blinds without taking them down?”Vacuum with a brush attachment, then wipe with microfiber or socks, dry for dust and damp for film. Spot-clean sticky areas with a mild dish soap solution and keep moisture away from the headrail.
Can I put plastic blinds in the bathtub?
Section titled “Can I put plastic blinds in the bathtub?”Yes, but use lukewarm water, keep soak times reasonable, and rinse very well to prevent residue. Try to keep metal headrail parts and the cord lock area out of prolonged soaking to reduce rust and stiffness.
How do I stop dust sticking to plastic blinds?
Section titled “How do I stop dust sticking to plastic blinds?”Remove soap residue completely, dry fully, then apply a light anti-static spray or a gentle dryer-sheet wipe. Also keep indoor humidity moderate during dry seasons when static is worst.
How often should you clean plastic venetian blinds?
Section titled “How often should you clean plastic venetian blinds?”Dust weekly or biweekly, do a damp wipe monthly in kitchens or high-touch rooms, and deep clean once or twice a year. Increase frequency if you have cooking grease, smoke residue, or heavy traffic dust.
References
Section titled “References”-
Window Covering Manufacturers Association. “Window Treatment Care Guide.” Industry guidance on blind maintenance.
-
Consumer Reports. “Window Blind Cleaning.” Consumer guidance on home maintenance.
-
Society of Plastics Engineers. “UV Degradation of PVC.” Technical information on plastic yellowing.
-
American Cleaning Institute. “Household Cleaning Guide.” Consumer guidance on cleaning methods.
-
Extension Services. “Home Maintenance Calendar.” Educational resources on maintenance scheduling.